Angular is a TypeScript-based open-source web application framework led by the Angular Team at Google and by a community of individuals and corporations
In this article, I will show you how to create a tab component using bootstrap 4 and angular. The recently angular introduced ngSwitch directive in the angular framework, which is used for conditionally showing and hiding the HTML elements/components.
This may not be the best approach for creating the tab control. The purpose of this article is to show you how to use *ngSwitch structural directive. ❤
STEP 1
Create an angular application by running the following command in terminal
ng new app angular-tab
STEP 2
Remove everything from the app.component.html and add following code
<div class="container" [ngSwitch]="tab">
	<h3>Tabs</h3>
	<ul class="nav nav-tabs">
		<li class=" nav-item">
			<a (click)="switchTab('about')"
       class="nav-link"
        [ngClass]="{active:tab==='about'}"
       href="#">About</a>
		</li>
		<li class="nav-item">
			<a href="#" class="nav-link"
      [ngClass]="{active:tab==='contact'}"

      (click)="switchTab('contact')">Contact Us</a>
		</li>

	</ul>
	<app-about *ngSwitchCase="'about'"> </app-about>
	<app-contact-us *ngSwitchCase="'contact'"> </app-contact-us>
</div>
and in the app.component.ts add following code
import { Component } from "@angular/core";

@Component({
  selector: "my-app",
  templateUrl: "./app.component.html",
  styleUrls: ["./app.component.css"]
})
export class AppComponent {
  tab = "about";
  switchTab(tab) {
    this.tab = tab;
  }
}
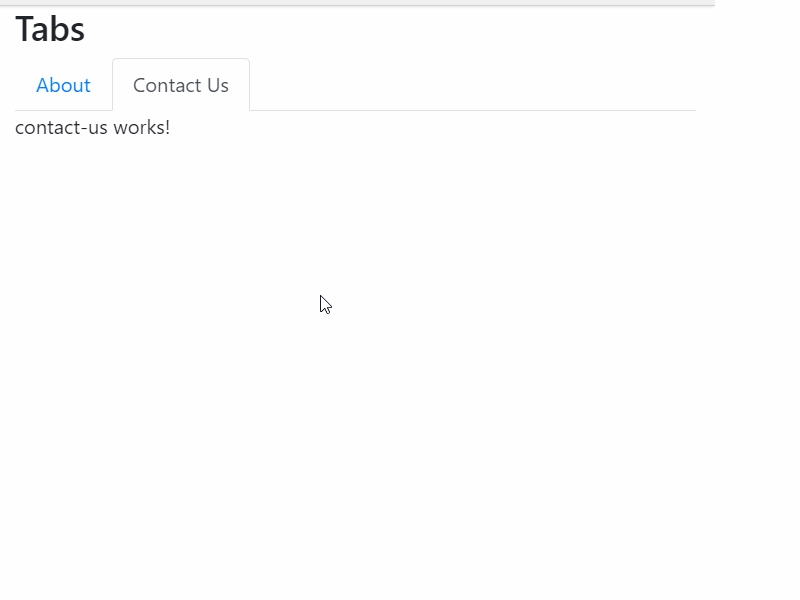
DEMO